2. Use Header dropdown menu to Choose header and hit Publish. If you want to create a new header follow How to Create New Header section below.
How to Change Footer
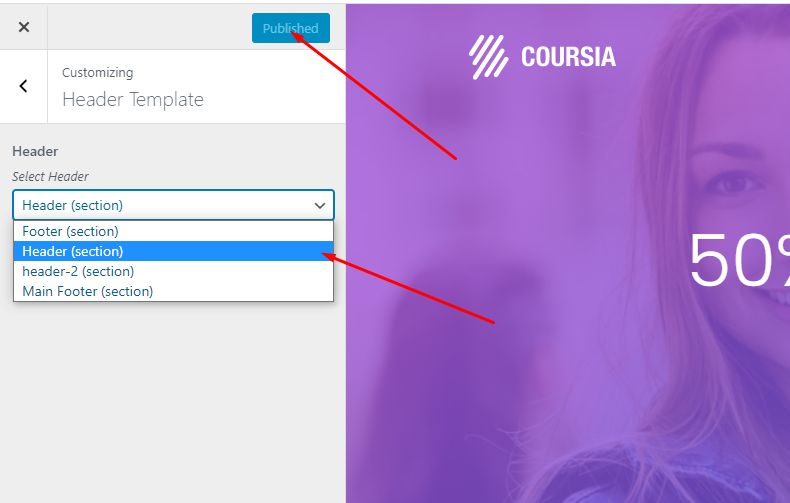
1. Go to Customizer > Footer
2. Use Footer dropdown menu to choose footer and hit Publish. If you want to create a new footer follow how to create new footer section below.
How to Create New Header
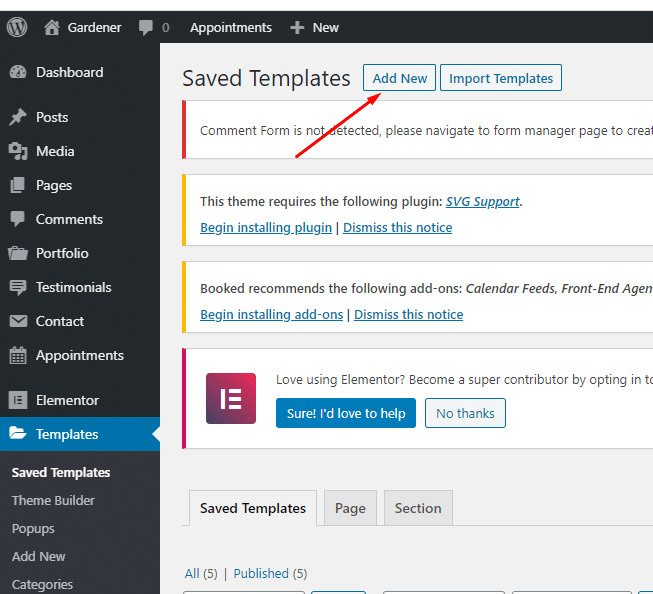
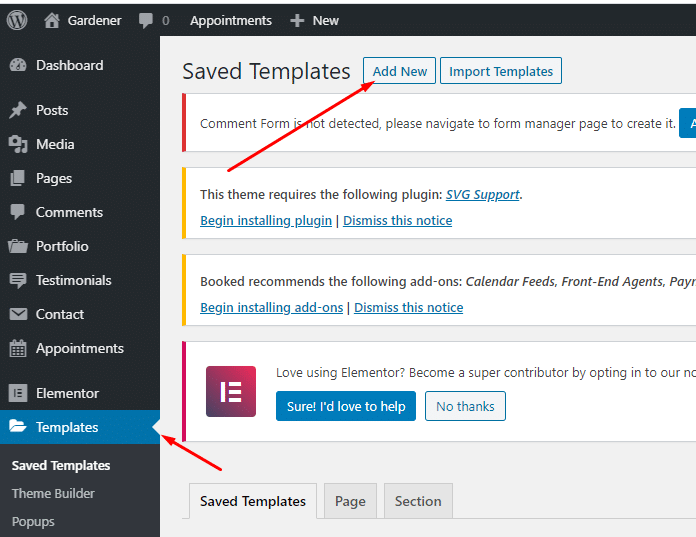
1. Go to Templates.
2. Go to Templates > Add New and it opens a popup.
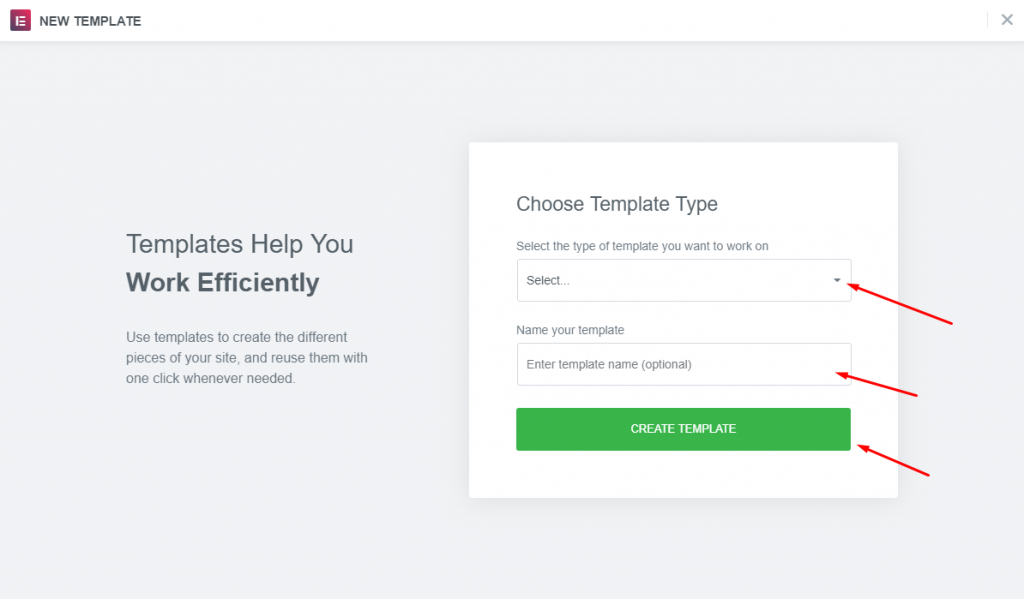
3. Here you choose Section and type template name now hit Create Template button.
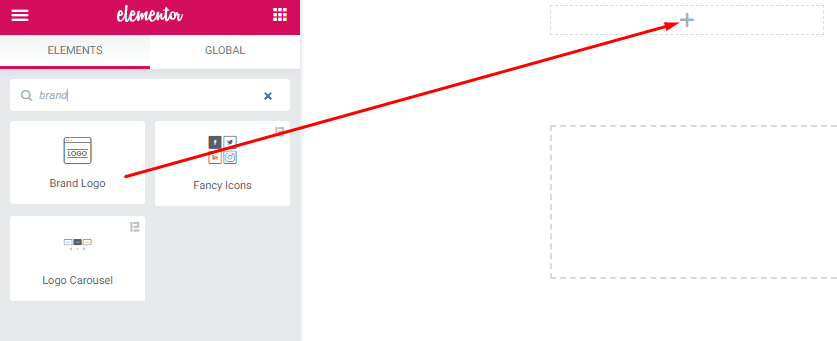
4. Create an Elementor section for header. Drag Brand Logo widget to the left column to make a logo.
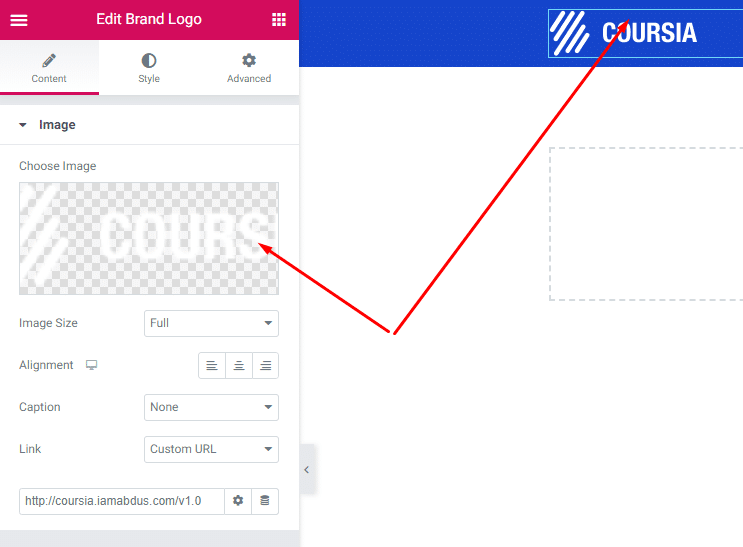
5. You can now customize its property like width and height etc.
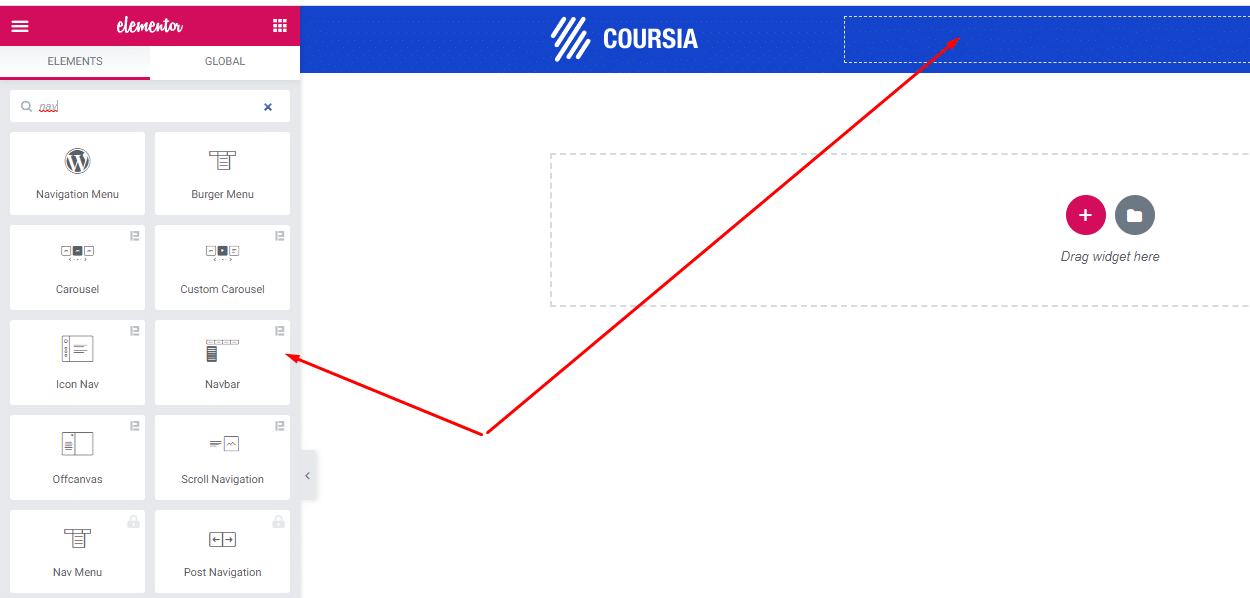
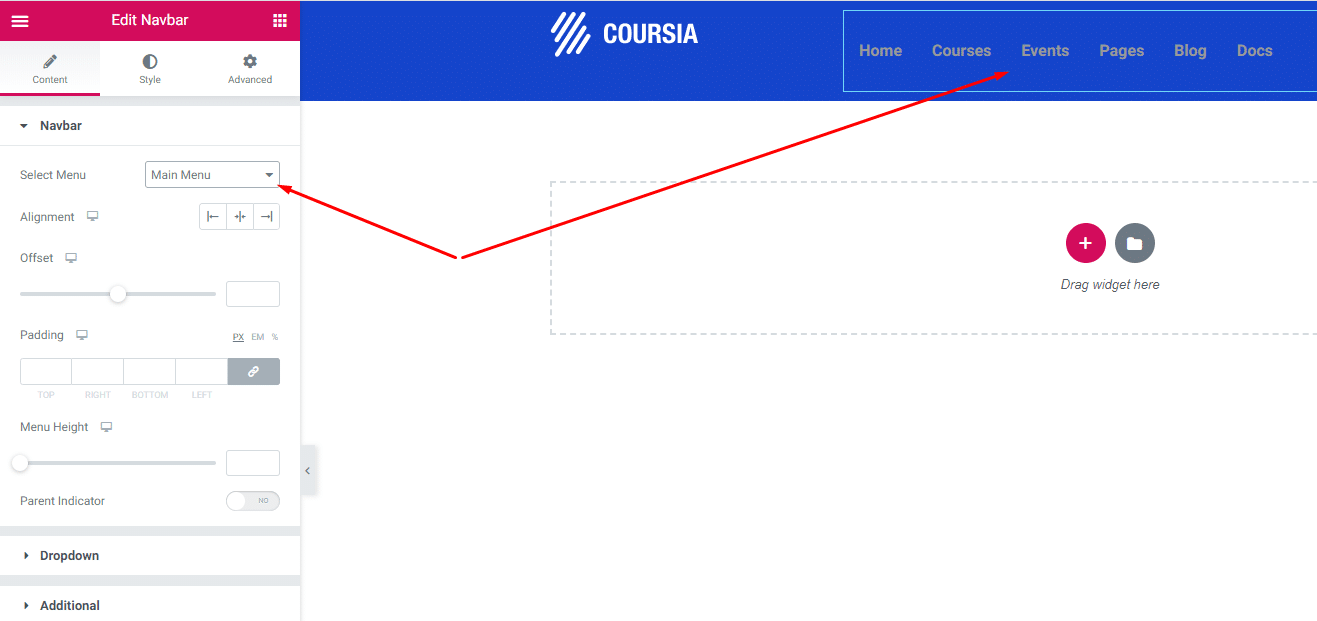
6. Drag Navbar widget to the right column to make menu.
7. Use Menu dropdown to pick a menu created before. And Now you can customize menu property like fonts, color, padding, margin etc. You may need to set z-index property to see the header properly.
8.Now go to Customizer > Header and Choose your header dropdown menu & hit Publish.
How to Create New Footer
1. Go to Templates.
2. Go to Templates > Add New and it opens a popup.
3. Here you choose Section and type template name now hit Create Template button.
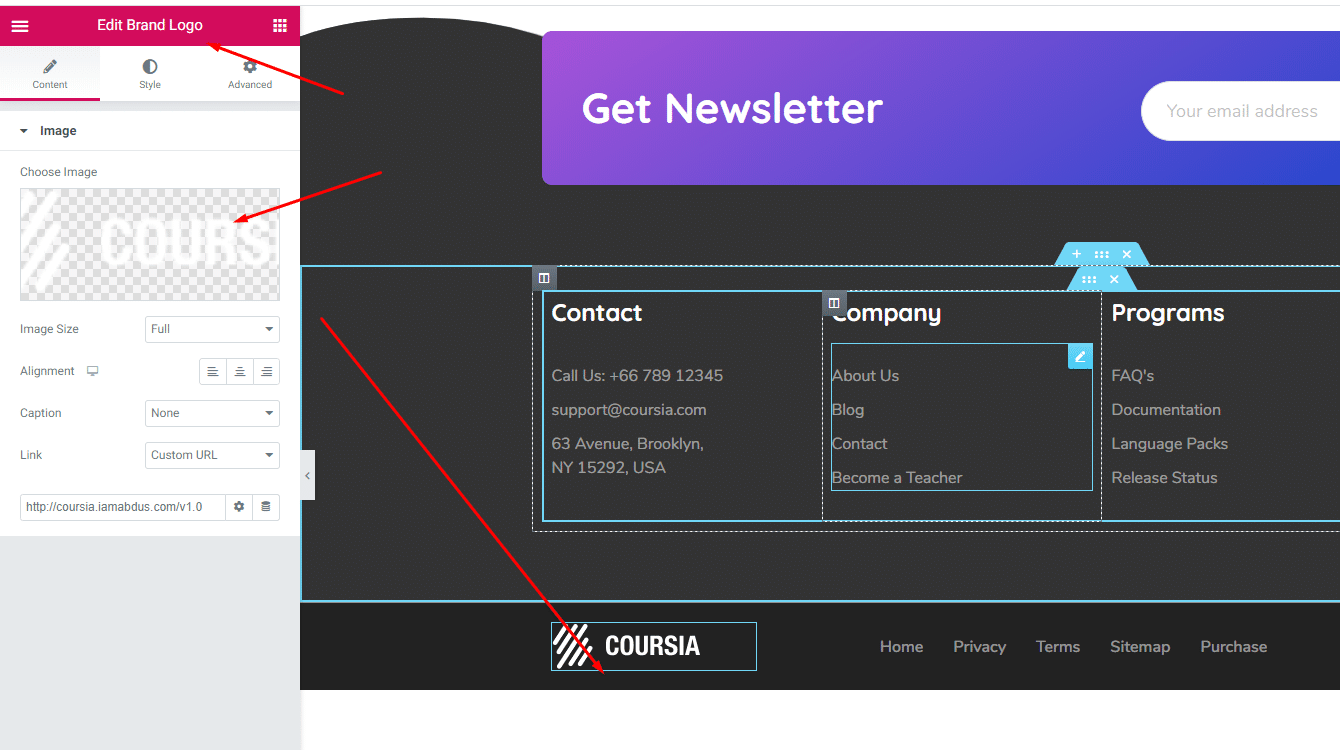
4. Create an Elementor section for header. Drag Brand Logo widget to the left column to make a logo.
5. Use Menu dropdown to pick a menu created before. And Now you can customize menu property like fonts, color, padding, margin etc. You may need to set z-index property to see the header properly.
6. Now go to Customizer > Footer and choose your Footer from the dropdown menu & hit Publish.